
High-Performance Game Server Hosting
Experience unparalleled performance with our specialized game server hosting. Optimized for Arma Reforger with expert support, instant setup, and powerful hardware.
Our Game Selection
High-performance hosting for the games you love. More coming soon!

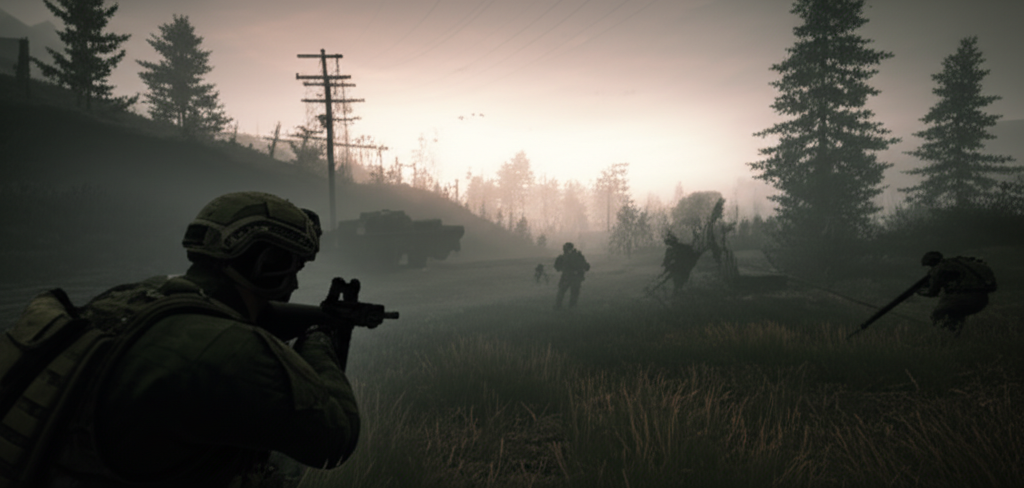
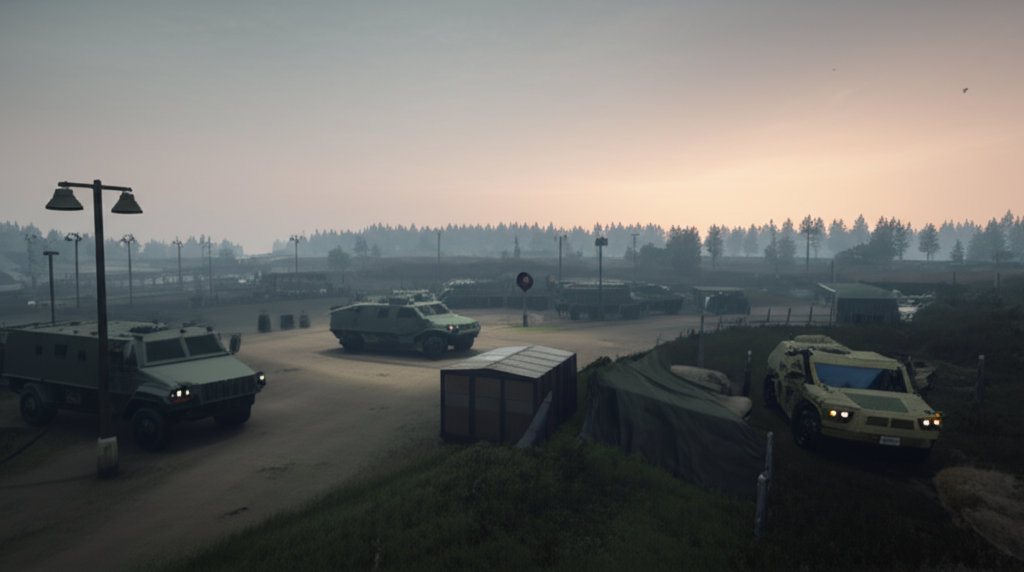
Our specialty. Experience military simulation at its finest with our specialized hosting, optimized for performance and stability.
Starting at
$45.00/mo
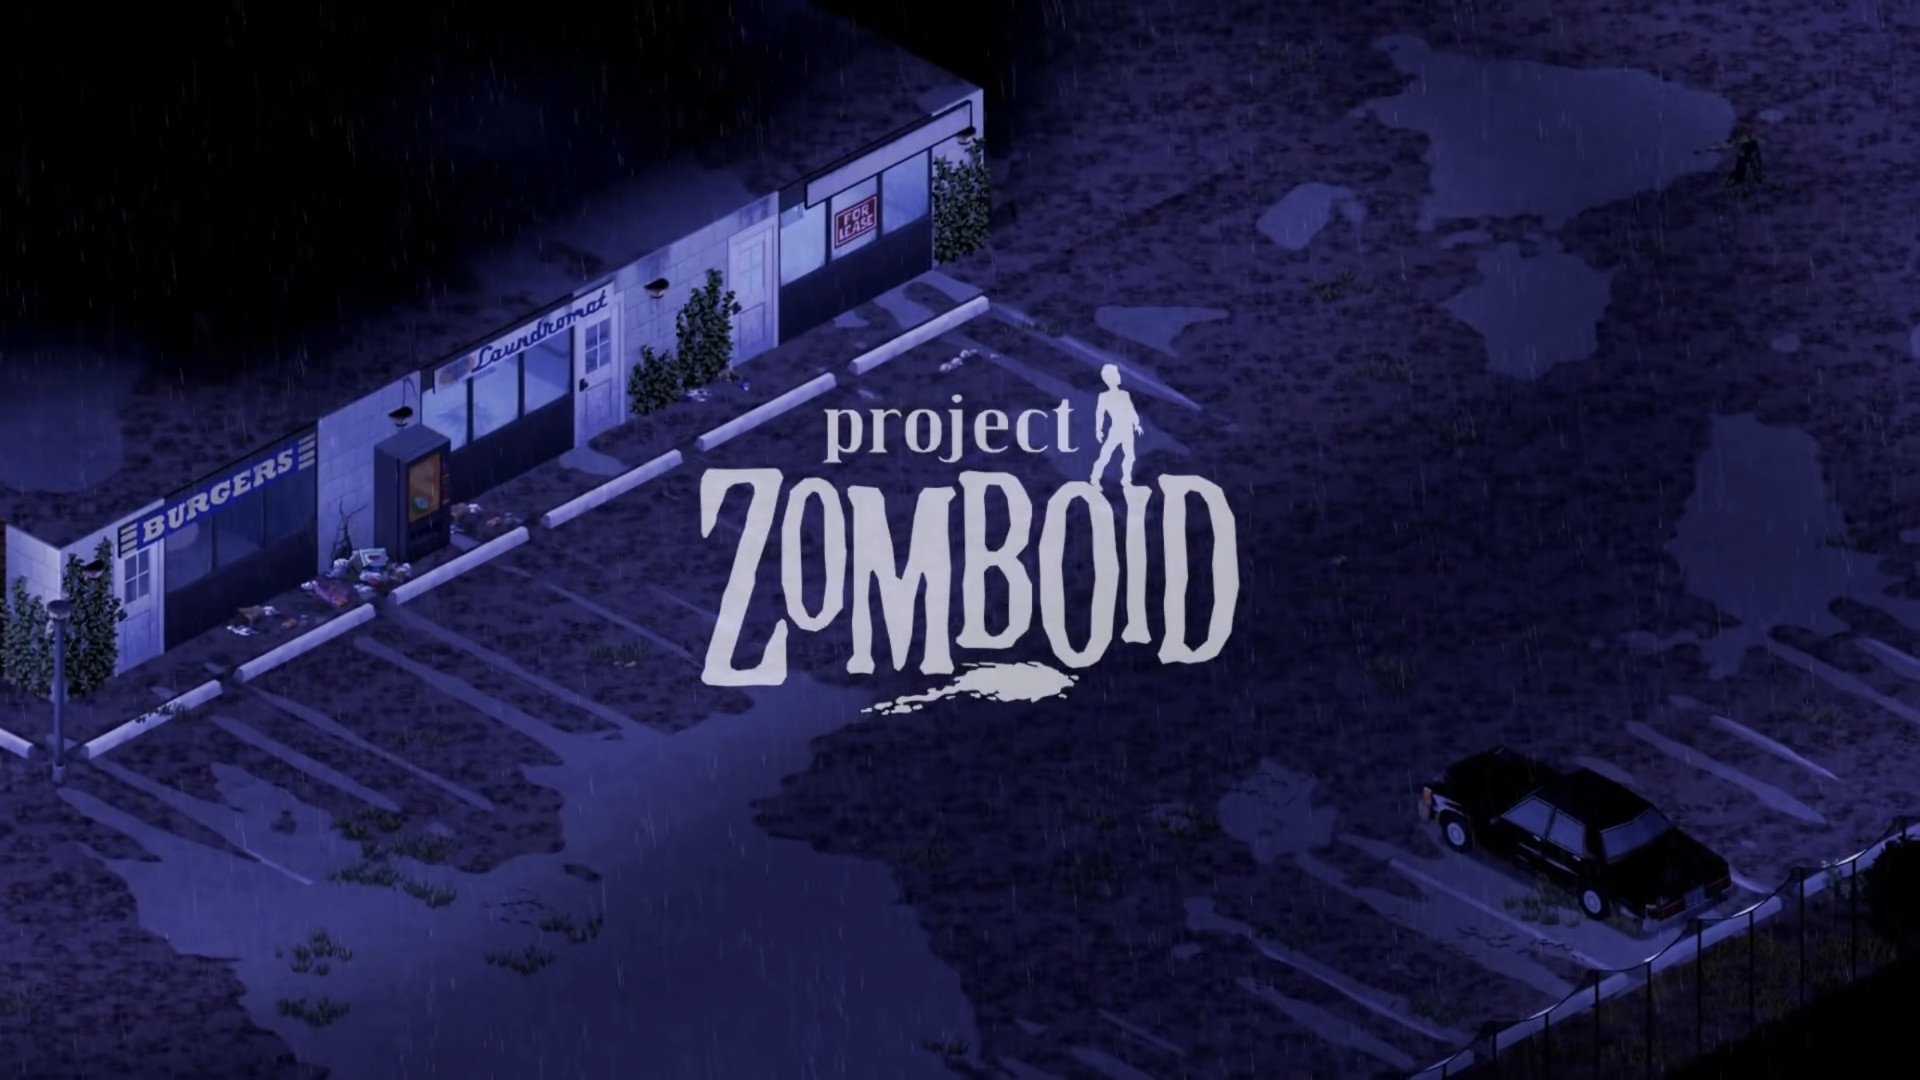
High-performance server hosting for Project Zomboid.
Starting at
$15.00
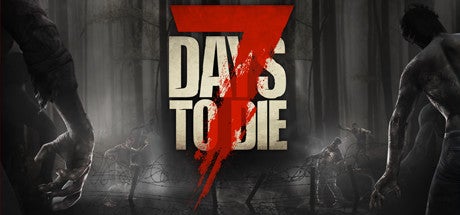
High-performance server hosting for 7 Days to Die.
Starting at
$15.00
High-performance server hosting for Rust.
Starting at
N/A

High-performance server hosting for Palworld.
Starting at
$15.00
High-performance server hosting for Minecraft.
Starting at
$15.00
High-performance server hosting for Counter-Strike 2.
Starting at
$15.00
What Makes Us Different?
We provide everything you need for a successful gaming server, with features that other providers charge extra for.
Frequently Asked Questions
Get answers to common questions about our game hosting services
Ready to Get Your Fresh-Baked Server?
Join thousands of gaming communities who trust Loafhosts for their server hosting needs. Get started today with our easy setup process - hot and ready in minutes!