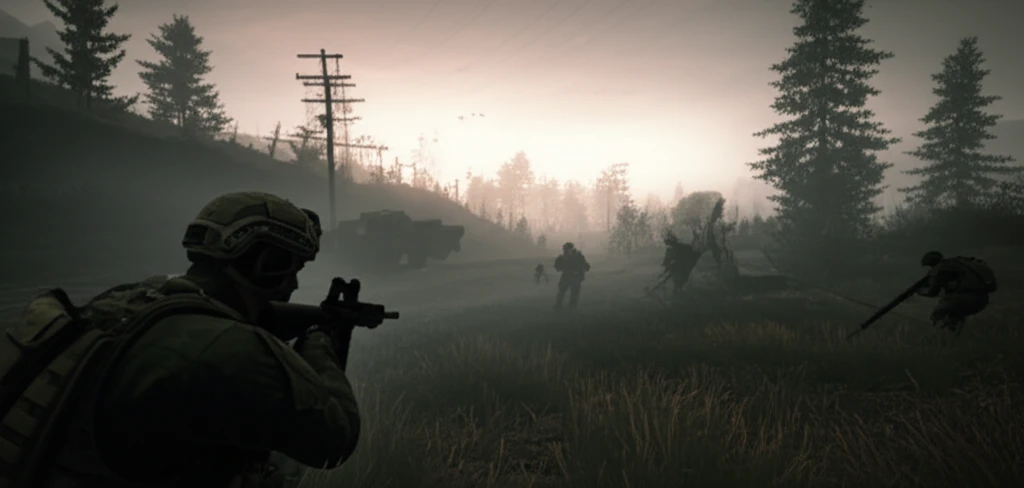
Installing mods on your Arma Reforger server enhances gameplay and allows you to customize your server experience. This step-by-step guide will walk you through the process of installing mods using the config.json file and ensuring everything runs smoothly.
Requirements
Before you start, ensure you have the following information for each mod you want to install.
Info
- Mod ID: A unique identifier for the mod (found on the Workshop page)
- Mod Name: The name of the mod for reference
- Version: Leave blank to allow automatic updates (recommended)
Tip
- Visit the Arma Reforger Workshop to browse available mods
- Make note of mod IDs from the Workshop URL or mod page
Accessing the config.json File
The config.json file is where you add mod details.
- 1Go to your server's control panel at panel.loafhosts.com
- 2Navigate to Management → Configs
- 3Select config.json from the dropdown
- 4Or use the File Manager to locate the file manually
Locating the Mods Section
Open the config.json file and find the mods array.
"mods": []This is where you'll add your mod entries
Example: Find this line in the config
Adding Mod Details
Add your mod information in the mods section. Each mod requires modId, name, and version fields.
modIdThe unique Workshop ID for the mod
Example: "5AAAC70D754245DD"
nameThe mod name for reference
Example: "Server Admin Tools"
versionLeave blank for auto-updates
Example: ""
Info
- Single mod example: {"modId": "5AAAC70D754245DD", "name": "Server Admin Tools", "version": ""}
- Multiple mods must be separated by commas
Multiple Mods Example
When adding multiple mods, separate each with a comma except for the last one.
Tip
- Each mod entry should be on its own line for readability
- Don't add a comma after the last mod entry
- Use a JSON validator to check your syntax
Mod Dependencies
You don't need to manually add mod dependencies. The server automatically downloads and installs any required dependencies for the mods you've listed.
Info
- Dependencies are resolved automatically during server start
- Check mod descriptions for any additional setup requirements
Validate Your JSON File
To avoid errors or server crashes, ensure your config.json follows proper JSON syntax.
Warning
- Invalid JSON will prevent the server from starting
- Use a tool like JSONLint to validate before saving
- Common errors: missing commas, extra commas, missing quotes
Restart Your Server
After saving your changes, restart the server to download and activate the mods.
- 1Save the changes to your config.json file
- 2Click the Restart button on your server panel
- 3Wait for the server to download all mods automatically
- 4Check the console for any mod-related errors
Using Loafhosts Mod Manager
If you're using Loafhosts, we provide a Mod Manager that simplifies the entire process.
Tip
- Browse and install mods directly from the Workshop interface
- Manage installed mods, delete, or bulk delete with one click
- Change mod load order and set specific versions easily
- No manual JSON editing required!
Ready to Start Your Arma Reforger Server?
Get instant setup, powerful hardware, and 24/5 support with Loafhosts.
Get Arma Reforger Hosting